


Flaring tool for air conditioning systems
Flare joints are the most common leak point on split systems. Whether they stay tight depends on the tool and on clean work when setting up. This page covers the selection criteria, the sizes involved and the working steps.
3 units compared
All flaring tools in the range (52 items)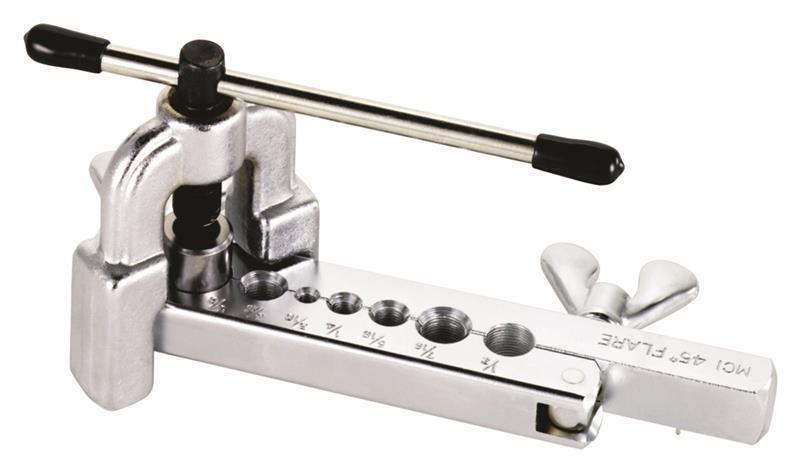
What matters when choosing
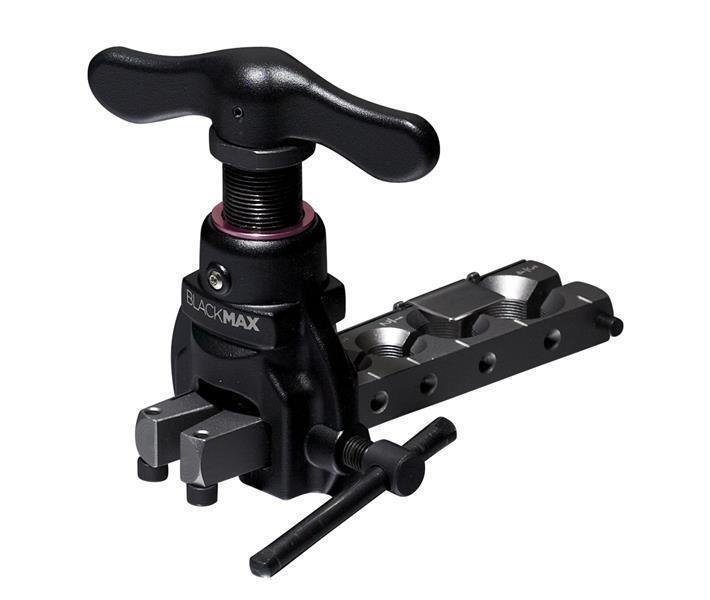
- Eccentric cone instead of a rigid one The eccentric rolls the flare rather than pressing it. The result is a smooth, work-hardened sealing face without scoring — precisely the surface the flare nut later seals against.
- Powered or cordless tools for series work Anyone installing several systems a week saves not only time with a cordless flaring tool, but above all gets reproducible flares: same force, same flare height, regardless of the day and of how awkward the access is. Working overhead, that is the real gain.
- The right sizes, imperial and metric Air conditioning lines run imperial (1/4", 3/8", 1/2", 5/8", 3/4"), refrigeration applications often metric (6, 10, 12, 16, 18 mm). Check which sizes the set really covers before buying, and pay particular attention to the large diameters.
- Integrated cutter and deburrer A flare is only as good as the cut before it. Cut square, cleanly deburred, no swarf in the pipe: sets with cutter and deburrer have everything needed in one place.
- Ratchet drive In the cramped space in front of an indoor unit, the drive decides whether the flare comes out even. A ratchet can be worked under control even where there is no room for a full turn.
Refrigerant and safety group
Which size for what?
| Imperial | Metric | Typical use |
|---|---|---|
| 1/4" | 6.35 mm | liquid line, small split units |
| 3/8" | 9.52 mm | suction line of small units, liquid line of larger ones |
| 1/2" | 12.70 mm | suction line in the mid capacity range |
| 5/8" | 15.88 mm | suction line of larger split units |
| 3/4" | 19.05 mm | large systems and multi-split headers |
Typical assignment on split systems. The installation manual is always what counts, not this table. Manufacturers deviate, particularly on multi-split.
Flaring correctly: the order of the working steps
- Cut the pipe square. An angled cut cannot be corrected later.
- Deburr the inside, holding the pipe downwards, otherwise the swarf falls into the line and ends up in the compressor.
- Slide on the flare nut — before flaring. Forget it and the finished flare has to come off again.
- Clamp the pipe in the matching bore and set the protrusion to the manufacturer specification.
- Flare until the eccentric has run through cleanly, no longer and no shorter.
- Visual check: an evenly round sealing face, no crack at the edge, no scoring, no discolouration. When in doubt cut it off and flare again; that costs two minutes.
- Tighten with the torque wrench, not by feel. The values are in the system manual.
Frequently asked questions
Flaring or pressing: which is better?
Flaring is the normal case on split systems because the units come with flare connections from the factory. Pressing plays to its strengths on longer line runs and for installers making many similar joints: reproducible, fast, no flame. What matters is what the installation manual allows.
Why does my flare crack?
Almost always one of three causes: the pipe was not properly deburred, the protrusion was too great, or the material had already work-hardened from repeated re-flaring. Pipe that is too hard — a leftover from a DIY-store coil rather than annealed refrigeration tube — also cracks.
What torque do I use on the flare nut?
The value the system manufacturer specifies, applied with a torque wrench. Larger nuts need considerably more torque than smaller ones; by feel you will be wrong in both directions. Too tight cracks the flare, too loose lets it leak slowly over months.
Do I need a different flaring tool for R32?
No, the tool is the same. What changes is the duty of care: with A2L refrigerants a leaking joint weighs heavier, so clean flares and a documented tightness test belong together.
Is a powered flaring tool worth it?
From roughly one system a week onwards, almost always — mainly because of the consistent results. The tool flares overhead and in a corner exactly as it does on the bench, and that is precisely where bad joints otherwise come from.